Let’s talk campfire pizza.
We make homemade pizza a lot — mostly because it is fun and delicious, and also because rarely is outside pizza very good — in our opinion at least. I also like the idea that making bread-based foods over an open flame is so ancient and connects me with old ways of doing things. Modern fast food has destroyed great pizza, which is simple in principle and effort. Since we have been camping full time and travelling, we make pizza even more. It’s our own version of “fast food,” it’s creative, it’s easy to throw on the campfire grill, it’s outstanding with local ingredients and it’s romantic. Making pizza on the campfire also significantly helps with one issue in our camping lifestyle: It keeps the heat out of the kitchen.
But we couldn’t do any of it if we didn’t keep pizza dough around and ready, fresh or frozen, to roll out and cook on the fire. I have referenced many pizza dough recipes over the years, but I have two go-to recipes that I continue to use while travelling. A favorite is my sourdough pizza crust recipe, which I borrow from King Arthur Flour’s infinitely resourceful and utterly gorgeous website and requires a starter.
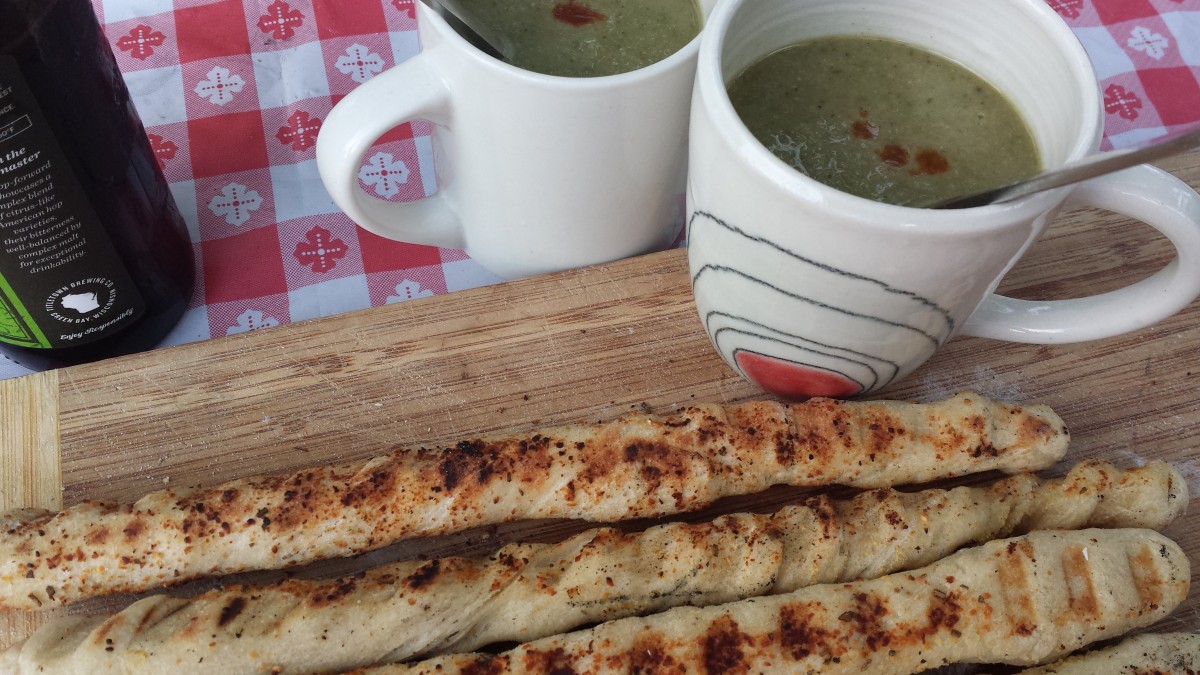
The one that I offer up here is a basic pizza dough that you can make quickly and without a starter. I make the dough, let it rise, separate it into quantities based on how thick I would prefer my pizza crust and/or how many pizzas I’d like to get out of it. Then I use it or freeze it. Sometimes I use the extra dough to make breadsticks for campfire soup. Just divide the dough, roll them into a bunch of logs, lube them with oil, sprinkle them with salt and pepper and grill. Superb!
-

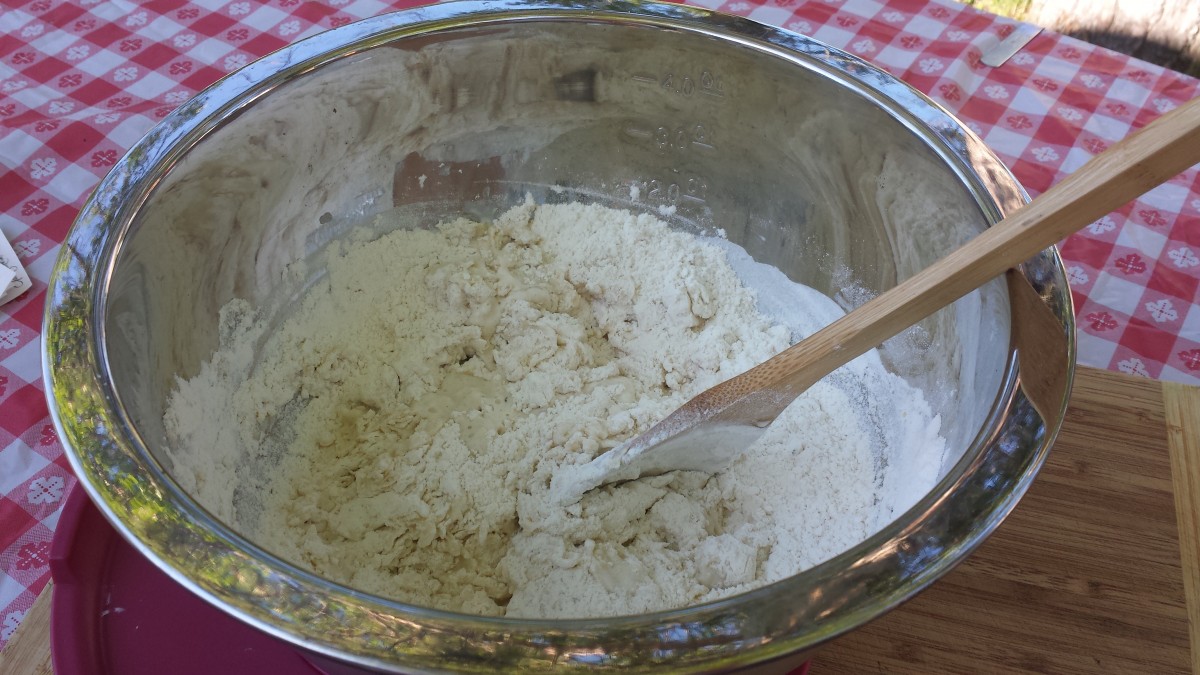
- Mixing the Dough.
-

- Par-baking the Dough.

-

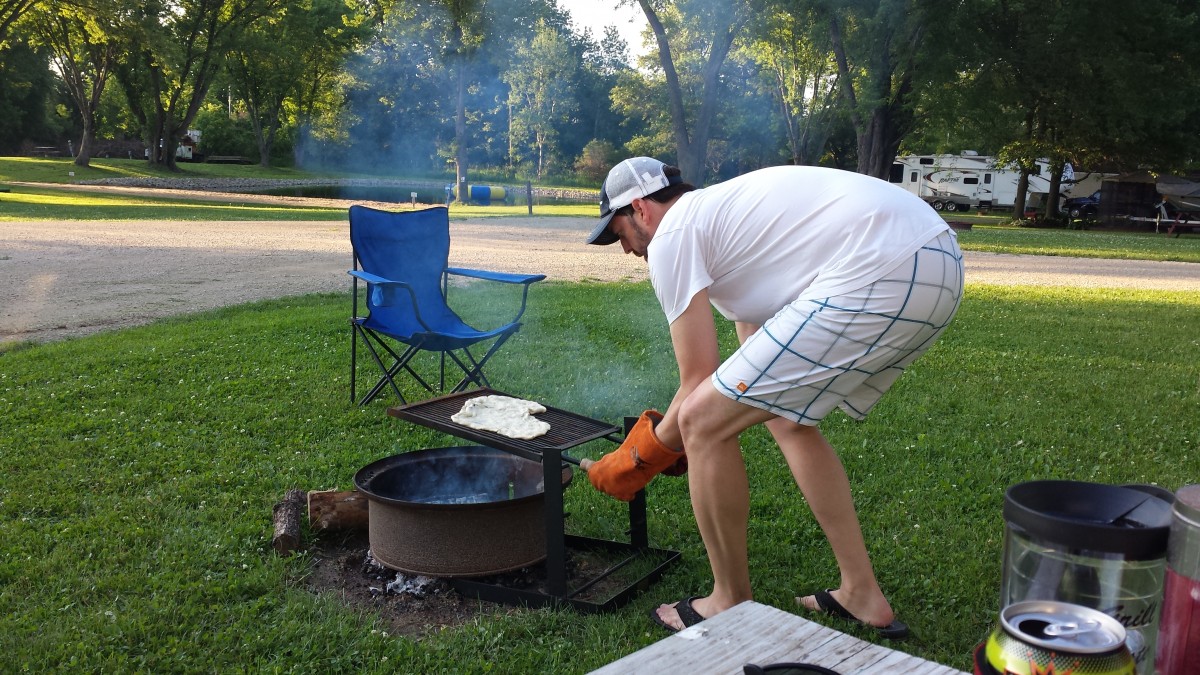
- Grill Meister in Action.

-

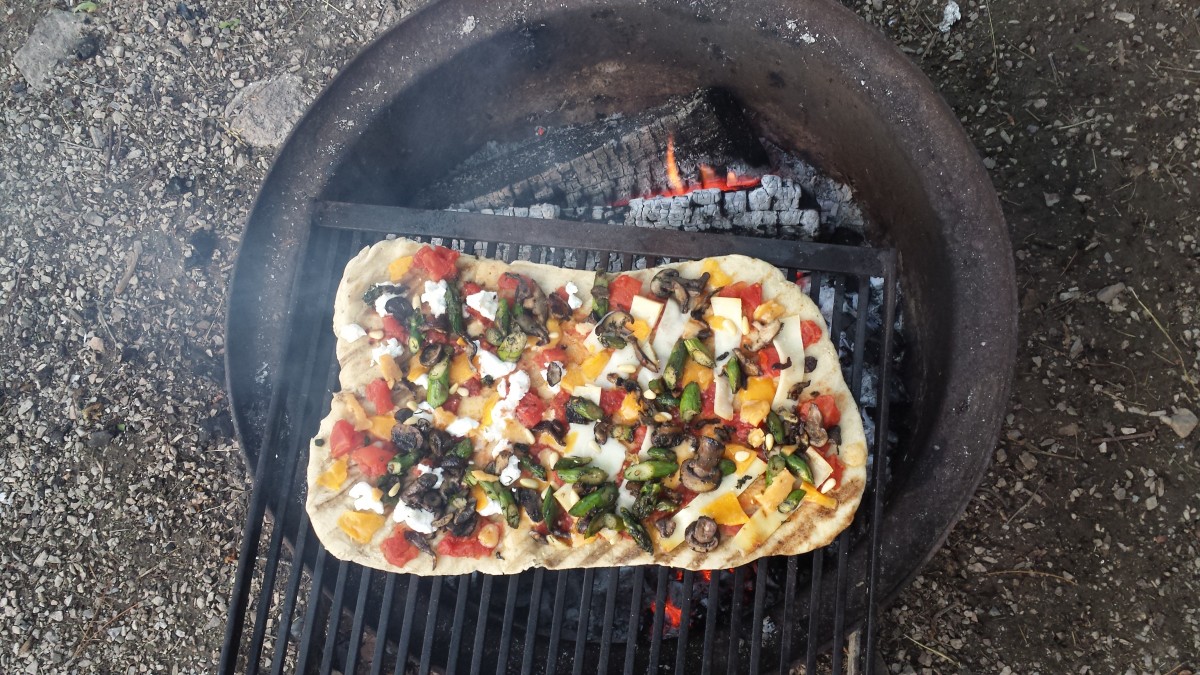
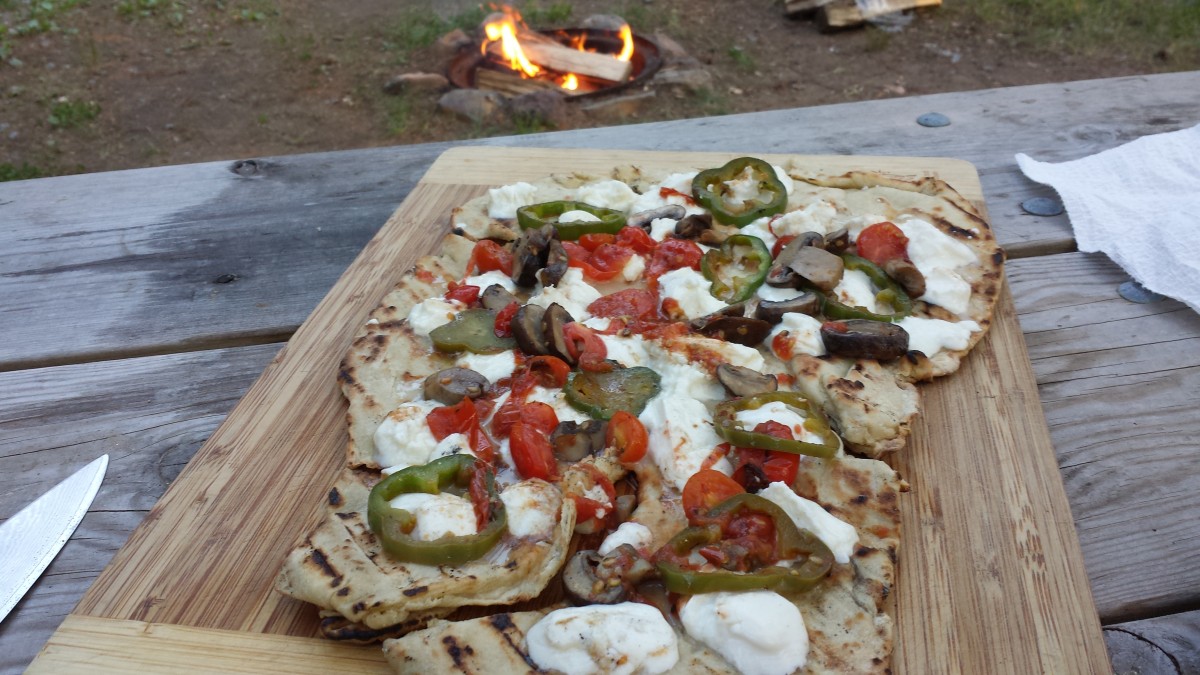
- One of Our Many Campfire Pizzas.
-

- Making Breadsticks.

-

- Breadsticks and Soup.
Homemade pizza is one of the greatest food joys we know. I am hoping that you never return to bad, outside pizza again. Making campfire pizza will bring you immense satisfaction.
This recipe is quite simple I believe. It is based on an older Weber Grill pizza dough recipe that I used long ago. It is from memory and modified. Once you are ready to put your pizza on your campfire, it becomes a two-person job between keeping the coals going and assembly. Just be prepared and have FUN!
- Prep Time: 1h 15m
- Cook Time: 10m
- Total Time: 1h 25m
- Serves: 2
- Yield: One large pizza or two medium pizzas. Can serve 2 - 4 people
- Category: Bread
Ingredients
Basic Pizza Dough
- 2 1/2 teaspoons dry active yeast (or one package of instant yeast, plus a little more, especially if you need help with the rise)
- 2/3 cup warm water (about 110 - 120 degrees)
- 1 teaspoon sugar or 1 - 2 teaspoons honey
- 2 tablespoons olive oil, plus a little more for coating dough and then later lubing
- 2 cups flour, unbleached all-purpose, plus more for kneading and rolling
- 1 teaspoon kosher salt
- 1 teaspoon coarsely ground black or mixed-peppercorn pepper
- optional dried, strong herbs or crushed red pepper for adding to dough
Instructions
Make the Dough and Let it Rise
- In a small glass bowl or container, heat the water to 110 or 120 degrees. If pouring warmed water into a cooler container for mixing, heat water to 115 or 120 degrees so that it registers at least 110 to activate the yeast. Sprinkle the yeast on top of the water, whisk it around and let it sit until it becomes foamy, around five minutes. Yeast likes warmth. The warmer the water, the bowl and its environment, the more foamy it will become.
- Into a large bowl, pour the yeast mixture and add the sugar or honey, stirring briefly. Add the olive oil and stir again.
- Next, add the flour one cup at a time, stirring briefly with a fork to break up the flour and to start incorporating it into the liquid. Sprinkle the kosher salt and pepper atop the dough and combine, adding any other herbs or red pepper flakes if you desire.
- Now, with clean hands, knead the dough in the bowl or on a well-floured, clean work surface for about five minutes or until you like its texture. When finished, drizzle the extra olive oil into the work bowl and flip the ball of dough to coat it. (I like to use as few kitchen utensils as possible for the sake of clean-up in my tiny space, so I reuse my kneading bowl, making sure that it's well-oiled.)
- For the rise, cover the bowl with a very damp tea towel or two, or, ideally, with a solid lid. I have nesting bowls that come with tight-fitting lids, which work well for rising draft-free. Then, find a place -- or create one -- where the air temperature is at least 70 degrees and let it rise for at least 45 minutes or, as they say, it has doubled in size. If it is a warm day, then you are in luck, because your dough will rise with gusto. Or you can preheat an oven to 200, then turn it off to cool a bit before placing the bowl in it. You could also put a heating pad underneath it. You could also use the top of your furnace or water heater, which always are creating warmer environments. Because we are camping and it is warm outside, my favorite rise place is in on the front seat of the truck or on the dashboard, or on the picnic table in the sun. They both work like a charms. If you are planning on using the dough for dinner, let it rise and then go to Build the Fire. If you are not eating pizza tonight, let the dough rise, batch it accordingly and then freeze until you are ready to make pizza -- or breadsticks! Now, go relax with a glass of wine or a good book, or both.
Build the Fire
- As far as your campfire is concerned, you or the person in charge of the fire just needs to know how to create and manage high heat. The campfire doesn't have a temperature gauge. Great pizza crust begins with a good dough recipe, but it is enhanced by heat -- like over 700 degrees. We like thin crust pizza, which comes to fruition with a hot fire, a couple of quick flips and a watchful eye. We highly recommend using welding gloves and a sturdy, thick industrial grate. We happen to have an Original Tuscan Grill by Bella Cucina, but any really strong grate will do. Also, have your grill tools ready for use. We like to use two large, wide grill spatulas for easy flips. You will need about an hour to get the coals pizza-ready. Enjoy a beer or some wine while you wait, and then prepare your ingredients.
Make the Pizza
- Pizza should be simple, so keep your ingredients simple. If you have a simple red sauce that you like to use, go for it. If you like a white pizza, keep some olive oil around for drizzling your delicious creation. Whatever you choose, keep it light and thin and ... simple.
- Punch the dough in the middle and let it deflate a little. Separate it according to your desired thickness or want for future meals. Add flour to your work surface and rolling pin and roll out your dough to manageable dimensions. Add flour as you need to in order to prevent sticking while rolling. When you like what you see and feel, paint olive oil on the side facing up -- that is the side that you will be grilling first. This will ensure easier removal.
- When you are ready to grill, work together with your cohort. You will par-bake, then you will remove from the grill and add your ingredients, and then you will finish grilling your pizza. Place the oiled side face down onto your grill rack and par-bake it until you begin to see some bubbles (air pockets). With the spatulas, give the underside a peek to see how it's doing there, too. Flip when it firms and begin to grill the other side of the pizza. You do not need to cook the other side fully as that's the side that will go down on the fire after you have added your ingredients. After just a minute or two, remove your pizza dough. Add your lovely, delicious, simple ingredients onto the fully-cooked side. Slide pizza back onto the grill and finish grilling. Take it off of the grill and put it on a cutting board. Eat it.
This recipe is delicious. Can’t wait to make this one around the camp fire grill on our next trip!!
Hey, Lara!
Thanks for the awesome plug-in. It is so fun and easy to use. I generally loathe writing recipes, but this was fun. Gazpacho this week. Let us know what you put on your pizza. Yum. Maybe see you out east.
🙂
LB
I am SO glad to hear that. Yay!! Recipe publishing and writing can be fun, if you make it that way. Would definitely be really happy to meet up with you both at an upcoming WordCamp out on the East Coast, but my husband and I are also often in the Whites in NH, too! http://laralittlefield.pub/mt-tecumseh-4003/
I’ll definitely let you know what we put on our pizza. Enjoy! ☺️